My love affair with grilled cheese runs deep – the crispy bread, the molten, savory cheese, there’s truly nothing quite like it. But sometimes, even my beloved classic grilled cheese feels like it takes too long. That’s where the genius of the Grilled Cheese Burrito comes in. It’s the ultimate fusion of convenience and comfort, transforming two beloved quick eats into an unbelievably fast and satisfying meal ready in a mere two minutes.
Why You’ll Love This Dish
This isn’t just another recipe; it’s a culinary hack for anyone who values flavor as much as their precious time. The Grilled Cheese Burrito is the perfect answer to those rumbling belly moments when you need something delicious now. It’s incredibly versatile, utterly comforting, and surprisingly filling for how quick it comes together. Whether it’s a snatched lunch between meetings, a late-night snack attack, or a kid-friendly creation, this burrito ticks all the boxes. Plus, minimal dishes mean minimal clean-up, which is always a win in my book!
> “Honestly, I was skeptical about ‘2 minutes,’ but this Grilled Cheese Burrito delivered! It’s now my go-to for speedy cravings. So much better than a plain grilled cheese when you want something a bit different.” – A Quick Meal Enthusiast
The Cooking Process Explained
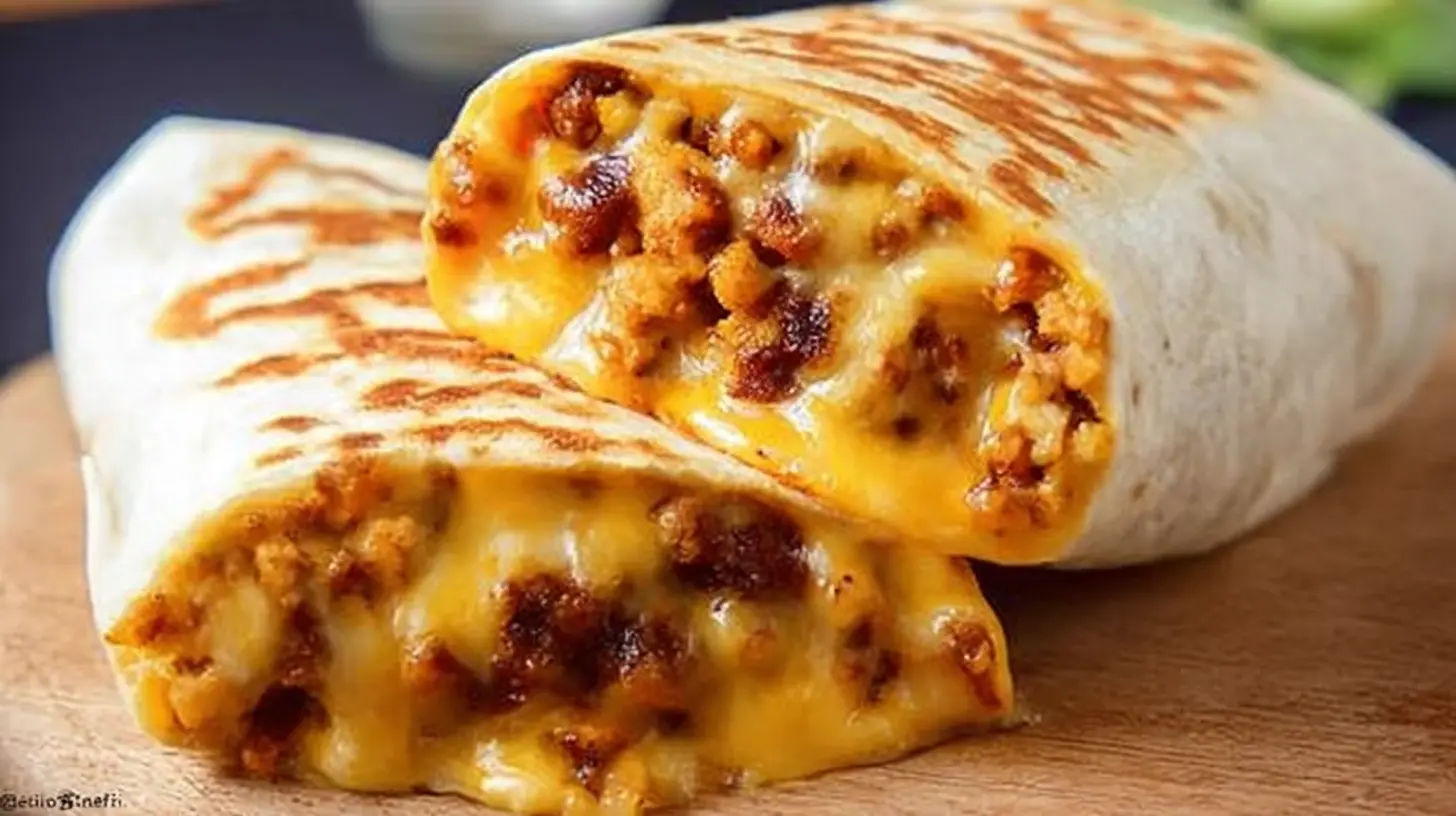
Making a Grilled Cheese Burrito is less cooking and more smart assembly and quick heating. You’re essentially building a grilled cheese inside a tortilla, then giving it a quick kiss of heat to melt the cheese and crisp up the exterior. The magic happens almost instantly, with layers of cheese melting together within the warm tortilla.
Key Ingredients
To whip up this speedy delight, you’ll need just a few simple items that you probably already have on hand.
- Large Flour Tortillas: The bigger, the better, as you want enough surface area to fold.
- Shredded Cheese: A melty blend like cheddar, Monterey Jack, Colby, or a mix of your favorites works best. Pre-shredded is fine for speed!
- Butter or Cooking Spray: For browning the tortilla.
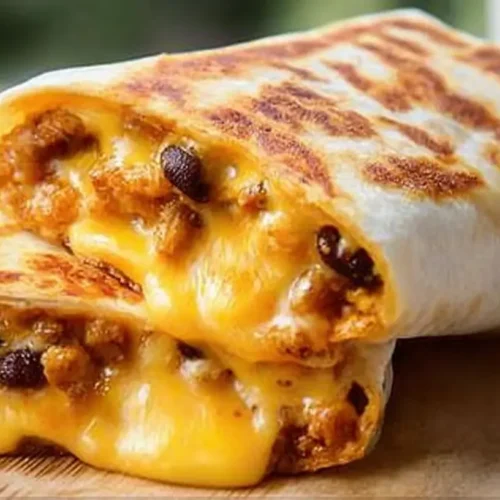
- Optional Fillings: Think leftover cooked chicken, black beans, corn, diced ham, or a sprinkle of cooked bacon bits. (Though for the 2-minute version, I usually stick to just cheese!)
Directions to Follow
Here’s how to construct your cheesy masterpiece in lightning speed:
- Prepare Your Tortilla: Lay a large flour tortilla flat on a clean surface.
- Layer the Cheese: Sprinkle a generous amount of shredded cheese over one half of the tortilla, leaving a small border. If adding any optional fillings, layer them over the cheese now.
- Fold It Up: Fold the empty half of the tortilla over the cheese, creating a half-moon shape.
- Heat Your Pan: Lightly butter or spray a non-stick skillet or griddle and heat it over medium heat. You want it warm enough to brown, but not so hot it burns.
- Grill: Carefully place the folded tortilla into the hot pan. Cook for about 60-90 seconds per side, or until the tortilla is golden brown and crispy and the cheese inside is fully melted and gooey.
- Serve Immediately: Remove from the pan, slice in half if desired, and enjoy!
Best Ways to Enjoy It
The beauty of the Grilled Cheese Burrito is its simplicity, but you can definitely elevate the experience. Serve it with a small side of marinara sauce for dipping – it’s surprisingly delicious! A dollop of sour cream or a dash of hot sauce also kicks things up a notch. For a fuller meal, pair it with a fresh green salad or a bowl of your favorite tomato soup, turning it into a deconstructed, quick version of the classic soup and grilled cheese combo.
Storage and Reheating Tips
While best enjoyed fresh from the pan, you can store any leftover Grilled Cheese Burrito in an airtight container in the refrigerator for up to 1-2 days. To reheat, I recommend popping it back into a dry or lightly buttered skillet over medium-low heat until warmed through and the tortilla crisps up again. The microwave will work in a pinch, but you’ll lose that lovely crispy exterior. Freezing isn’t recommended as the texture of the tortilla can become gummy upon thawing.
Pro Chef Tips
- Don’t Overfill: While tempting to stuff it, too much cheese or too many fillings can make it harder to fold and can cause cheese to ooze out excessively.
- Medium Heat is Key: Avoid high heat. It will burn the tortilla before the cheese has a chance to melt through. A gentle medium heat ensures even browning and perfect melt.
- Press Gently: While grilling, use a spatula to gently press down on the burrito. This helps maximize contact with the hot pan, ensuring a crispier exterior and faster melting of the cheese.
Creative Twists
The Grilled Cheese Burrito is a blank canvas for your creativity!
- Spice It Up: Add a pinch of red pepper flakes with your cheese, or a thin layer of jalapeño slices for a spicy kick.
- Herbaceous Delight: A sprinkle of fresh or dried chives, oregano, or a “pizza blend” seasoning can add unexpected flavor.
- Breakfast Burrito Hybrid: Add a scrambled egg and a slice of cooked bacon or ham along with the cheese for a lightning-fast breakfast option.
- Gourmet Cheese: Experiment with different cheeses! A blend of Gruyere and sharp cheddar, or even a crumbling of feta with mozzarella, can elevate the flavor profile.
Common Questions
Q: Can I use corn tortillas instead of flour?
A: While you can, corn tortillas are typically smaller and less pliable, making them harder to fold and less likely to contain the melting cheese. For the best result and ease, stick with large flour tortillas.
Q: How do I prevent the cheese from oozing out too much?
A: The key is to not overfill and to ensure you press down gently while cooking, helping the tortilla seal around the cheese. If some cheese escapes, don’t worry, that just means extra crispy bits!
Q: What kind of cheese melts best?
A: Semi-hard cheeses like cheddar, Monterey Jack, Colby, mozzarella, and Swiss are excellent choices due to their good melting properties. Avoid very dry or crumbly cheeses like Parmesan in large quantities, as they won’t give you that gooey stretch.
Spicy Chicken Ranch Grilled Cheese Burrito
Equipment
- Large non-stick skillet or griddle
- Small bowl
Ingredients
Main Ingredients
- Large Flour Tortillas
- 1/2 cup Shredded Monterey Jack cheese per burrito, divided for crust and filling
- Butter or Oil for grilling
- 1/2 cup Shredded rotisserie chicken per burrito
- 2-3 tbsp Buffalo sauce per burrito, to taste
- 1-2 tbsp Ranch dressing per burrito, to taste
Instructions
The Burrito
- Warm tortillas in a dry pan or microwave for 15-20 seconds to make them flexible and prevent cracking.
- In a small bowl, combine shredded rotisserie chicken with buffalo sauce and ranch dressing; mix well.
- Heat a large non-stick skillet or griddle over medium heat, then add butter or oil.
- Sprinkle about 1/4 to 1/2 cup of shredded Monterey Jack cheese onto the hot pan in a circular shape, slightly larger than the tortilla.
- As the cheese melts and crisps (1-2 minutes), immediately place a warmed tortilla on top of the cheese and gently press it down.
- While still on the heat, add the prepared spicy chicken ranch filling to the center of the tortilla, and sprinkle with more Monterey Jack cheese if desired.
- Once the cheese crust is golden brown and crispy, carefully fold the sides of the tortilla over the filling to create a burrito shape.
- Flip the burrito seam-side down, press gently with a spatula to seal, and grill for another 2-3 minutes until lightly browned and crispy.
- Remove from the pan, slice in half if desired, and enjoy immediately.