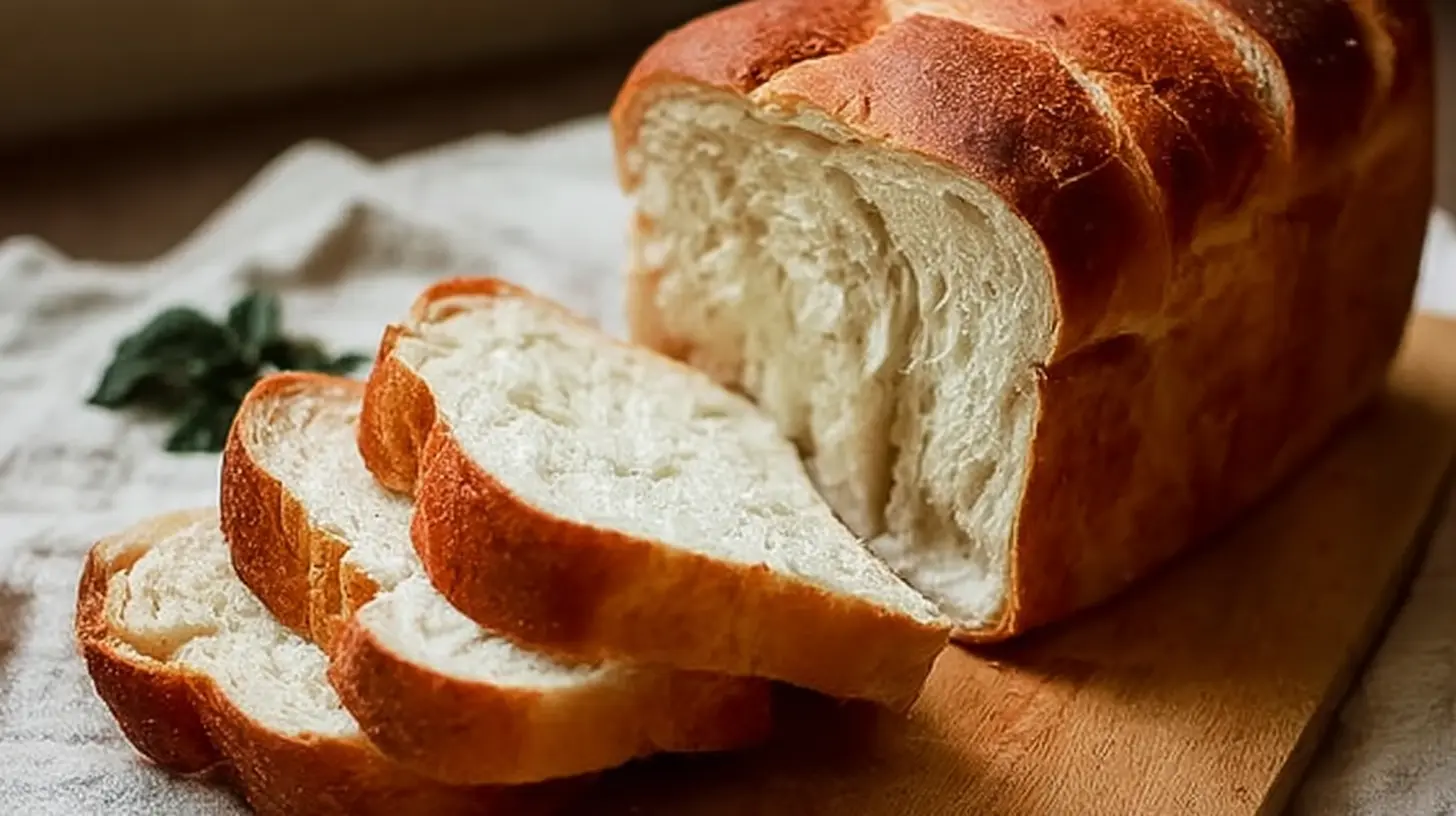
I remember the first time I pulled a truly homemade loaf of sandwich bread from the oven. The aroma filled the kitchen, a warm, yeasty hug that store-bought bread just can’t replicate. It wasn’t perfect — a little lopsided, perhaps — but biting into that soft, slightly chewy slice was a revelation. It tasted like comfort, like effort, and most importantly, it tasted like real bread. If you’ve ever felt that disconnect with the bland, airy loaves from the supermarket, then you’re in the right place. We’re about to tackle a recipe so straightforward, so consistently delicious, that it might just become the only sandwich bread recipe you ever need.
What Makes This Recipe Special?
There are a million bread recipes out there, so why bother with this one? Well, for starters, it genuinely lives up to its “simple” name. We’re talking minimal ingredients, straightforward steps, and a forgiving dough that’s happy to be handled by beginners and pros alike. This isn’t a sourdough project that requires a weeks-old starter, nor is it a fussy artisan loaf demanding specific humidity levels. It’s just good, honest bread.
It’s perfect for:
- Weeknight Dinners: Imagine fresh bread for grilled cheese, or as a side for a hearty soup.
- Family Lunches: Elevate everyday sandwiches into something truly special.
- Budget-Friendly Meals: Making your own bread is far more economical than buying it, especially if you go through a lot.
- The Best Toast Ever: Seriously, homemade bread makes the absolute best toast.
Plus, there’s an incredible satisfaction that comes from baking your own bread. The house smells amazing, and you know exactly what’s gone into every wholesome slice. It’s a small, gratifying act of creation you get to enjoy again and again.
> “I used to be intimidated by bread making, but this recipe changed everything! It’s so easy and the bread is always perfect. My family loves it.” — A Happy Home Baker
The Cooking Process Explained
Making this Simple Sandwich Bread is a surprisingly intuitive process. You’ll start by activating your yeast, which is essentially giving it a warm, sugary bath to perk it up. Then, it’s a matter of mixing your dry and wet ingredients until a shaggy dough forms, followed by some satisfying kneading – either by hand or with a stand mixer – until it’s smooth and elastic. After a relaxed rise in a warm spot, you’ll gently shape the dough into a loaf and let it rise one more time in its pan. Finally, into the oven it goes, transforming into a beautiful, golden-brown loaf that’s ready to be devoured. It’s a rhythm you’ll quickly get the hang of, and one that yields consistently excellent results.
Key Ingredients
To bring this wonderful loaf to life, you’ll need just a few fundamental items from your pantry. Nothing fancy here, just good, honest ingredients.
- All-Purpose Flour: The backbone of our bread. While bread flour can be used for a chewier texture, all-purpose works beautifully here for a softer crumb.
- Granulated Sugar: Just a touch to feed the yeast and add a hint of sweetness, contributing to that lovely golden crust.
- Active Dry Yeast: Our leavening agent, responsible for all that fluffy goodness. Make sure it’s fresh!
- Salt: Crucial for flavor and also plays a role in controlling yeast activity. Don’t skip it!
- Warm Water: The ideal temperature for activating yeast is usually between 105-115°F (40-46°C). Too hot and you’ll kill it; too cold and it won’t activate.
- Unsalted Butter (Melted): Adds richness, tenderness, and a lovely flavor to the final loaf.
Directions to Follow
Ready to get baking? Here’s your step-by-step guide to making the most delicious Simple Sandwich Bread.
- Activate the Yeast: In a large bowl or the bowl of your stand mixer, combine the warm water, sugar, and active dry yeast. Give it a gentle swirl and let it sit for 5-10 minutes. It should become foamy and fragrant, indicating your yeast is alive and ready to work. If it doesn’t foam, your yeast might be old or the water temperature was off – best to start again with new yeast.
- Combine Ingredients: Add the melted butter and salt to the yeast mixture. Gradually add the all-purpose flour, one cup at a time, mixing with a wooden spoon or the dough hook of your stand mixer until a shaggy dough forms.
- Knead the Dough: Turn the dough out onto a lightly floured surface (or continue with your stand mixer fitted with a dough hook). Knead for 8-10 minutes, or until the dough is smooth, elastic, and no longer sticky. It should spring back slowly when poked. If using a stand mixer, knead on medium speed for about 6-8 minutes.
- First Rise (Bulk Fermentation): Lightly grease a large bowl with a little oil. Place the dough in the bowl, turning it once to coat. Cover the bowl with plastic wrap or a clean kitchen towel. Let it rise in a warm, draft-free place for 1 to 1.5 hours, or until doubled in size.
- Shape the Loaf: Gently punch down the risen dough to release the air. Turn it out onto a lightly floured surface. Roll the dough into a rectangle roughly the length of your loaf pan. Starting from one of the longer sides, tightly roll the dough into a log. Pinch the seam closed and tuck the ends underneath to create a neat loaf shape.
- Second Rise (Proofing): Lightly grease a 9×5-inch loaf pan. Place the shaped dough seam-side down into the prepared pan. Cover loosely with plastic wrap or a kitchen towel. Let it rise again in a warm place for another 30-45 minutes, or until the dough has risen about 1 inch above the rim of the pan.
- Preheat Oven & Bake: While the bread is on its second rise, preheat your oven to 375°F (190°C). Once risen, bake the bread for 30-35 minutes, or until the crust is golden brown and the internal temperature reaches 200-210°F (93-99°C) with an instant-read thermometer. If the top is browning too quickly, you can loosely tent it with foil.
- Cool: Immediately remove the bread from the loaf pan and place it on a wire rack to cool completely before slicing. This is crucial to prevent a gummy texture inside.
What to Serve It With
This Simple Sandwich Bread is incredibly versatile! Of course, it’s ideal for classic sandwiches – think perfect grilled cheese, a hearty BLT, or a simple ham and cheese. But don’t stop there!
- Breakfast & Brunch: Slice it thick for the best French toast you’ve ever had, or simply toast it and slather with butter and jam. It’s also delightful alongside scrambled eggs.
- Soups & Stews: Tear off a chunk and use it to sop up every last drop of your favorite soup, chili, or stew.
- Garlic Bread: Slice it and turn it into amazing homemade garlic bread for pasta night.
- Croutons: If you happen to have any leftover (a rare occurrence!), cube it, toss with olive oil and seasonings, and bake for fresh croutons for salads.
The Best Way to Save Extras
Proper storage is key to enjoying your homemade bread to its fullest.
- Room Temperature: Once completely cooled, store the loaf in an airtight bread bag or container at room temperature for up to 3-4 days. Avoid refrigerating, as it tends to dry out bread quickly.
- Freezing: For longer storage, slice the cooled loaf and place the slices in a freezer-safe bag or container. It will keep well in the freezer for up to 2-3 months. You can grab individual slices and toast them directly from frozen. No need to thaw the whole loaf!
- Reheating: If you want to warm up a whole loaf, you can wrap it in foil and heat it in a 300°F (150°C) oven for about 10-15 minutes, until warmed through.
Helpful Cooking Tips
Even though this recipe is simple, a few pro tips can elevate your baking experience and ensure consistent success.
- Measure Flour Correctly: While the recipe calls for cups, the most accurate way to measure flour is by weight (grams). If using cups, spoon the flour into the measuring cup and then level it off with a straight edge, rather than scooping directly from the bag, which compacts the flour and results in too much.
- Don’t Over-Flour: When kneading, resist the urge to add too much extra flour. A slightly sticky dough is often better than a dry, stiff one. Only add enough flour to prevent serious sticking.
- Warmth for Rising: Yeast loves warmth! If your kitchen is cool, find a warm spot – near a sunny window (but not hot), on top of a preheating oven, or even inside a turned-off oven with just the light on (which generates enough warmth).
- Patience is a Virtue: Don’t rush the rising times. The dough needs to double in size to achieve that light, airy texture. If your kitchen is cool, it might take a bit longer.
- Know Your Oven: Oven temperatures can vary. Investing in an oven thermometer can help ensure your oven is truly at the temperature you set it to.
Creative Twists
While this recipe is fantastic as is, there are plenty of ways to play with the flavors and textures once you’ve mastered the basic loaf.
- Honey Wheat: Replace a quarter of the all-purpose flour with whole wheat flour and substitute some of the sugar with honey for a slightly nuttier, sweeter loaf.
- Herbed Bread: Add 1-2 tablespoons of dried herbs like rosemary, oregano, or Italian seasoning to the dough when you add the flour.
- Cheese Bread: Mix in 1 cup of shredded cheddar or Parmesan cheese during the last minute of kneading for a savory loaf perfect with soups.
- Seed Power: Incorporate 1/4 cup of poppy seeds, sesame seeds, or a mix of “everything bagel” seasoning into the dough, or sprinkle on top before baking.
- Milk instead of Water: For an even softer crumb and richer flavor, you can substitute the warm water with warm milk.
Common Questions
How do I know if my yeast is still good?
To test active dry yeast, combine 1 teaspoon of sugar and 2 1/4 teaspoons (one packet) of yeast with 1/2 cup of warm water (105-115°F/40-46°C). Let it sit for 5-10 minutes. If it becomes bubbly and foamy on top, your yeast is active and ready to use. If not, it’s likely dead and you should discard it and get new yeast.
Can I make this dough in advance?
Yes! After the first rise, you can punch down the dough, shape it into a loaf, and place it in the greased loaf pan. Loosely cover the pan with plastic wrap and refrigerate overnight (up to 24 hours). The next morning, take it out of the fridge and let it come to room temperature and complete its second rise (this might take 1.5-2 hours) before baking as directed.
What if my bread comes out dense or not fluffy?
Several factors can lead to dense bread:
- Dead yeast: Always check your yeast’s activity.
- Not enough rising time: Dough must double in size for both rises.
- Too much flour: This makes the dough stiff and difficult to rise. Measure accurately!
- Too low oven temperature: The initial blast of heat helps a final “oven spring.”
Why did my bread crust get too hard?
A very hard crust can be due to baking at too high a temperature, baking for too long, or not having enough moisture in the oven. For softer crusts, you might try placing a small oven-safe pan with water on the bottom rack during the first part of baking. Ensure you’re cooling it on a wire rack (not in the pan) and storing it properly once completely cool.
Quick & Easy Everyday Sandwich Loaf
Equipment
- large mixing bowl
- wooden spoon
- stand mixer (optional)
- plastic wrap
- kitchen towel
- 9×5-inch loaf pan
- instant-read thermometer
- foil (optional)
- wire rack
Ingredients
Dough
- 1 ½ cups Warm Water (105-115°F / 40-46°C)
- 2 ¼ teaspoons Active Dry Yeast (one packet)
- 2 tablespoons Granulated Sugar
- 3 ½ – 4 cups All-Purpose Flour (plus more for dusting)
- 1 ½ teaspoons Salt
- 3 tablespoons Vegetable Oil (or melted butter)
Instructions
Preparation
- In a large mixing bowl, combine warm water, sugar, and yeast, then let it sit for 5-10 minutes until foamy.
- Add 3 cups of flour, salt, and oil to the yeast mixture, stirring until a shaggy dough forms.
- Turn the dough onto a floured surface and gradually knead in the remaining flour for 5-7 minutes until smooth and elastic.
Rising & Baking
- Grease the mixing bowl, place the dough in it, and let it rise in a warm place for 15-20 minutes until almost doubled.
- Punch down the dough, flatten into a rectangle, and roll tightly before placing it in a greased 9×5-inch loaf pan.
- Cover the loaf pan and let it rise again for 10-15 minutes; preheat the oven to 375°F (190°C) during this time.
- Bake for 25-30 minutes until golden brown and the internal temperature reaches 200-210°F (93-99°C).
- Remove the bread from the pan immediately and cool completely on a wire rack before slicing.