My journey into the world of Texas smoked brisket started, like many, with a dream: to produce that perfectly tender, smoky, and unbelievably flavorful meat that melts in your mouth. What I quickly learned is that while patience and good technique are crucial, having the right arsenal of tools makes all the difference between a good brisket and an epic one. This isn’t just about throwing some meat on a grill; it’s about a methodical process where each piece of equipment plays a vital role.
Why you’ll love this article
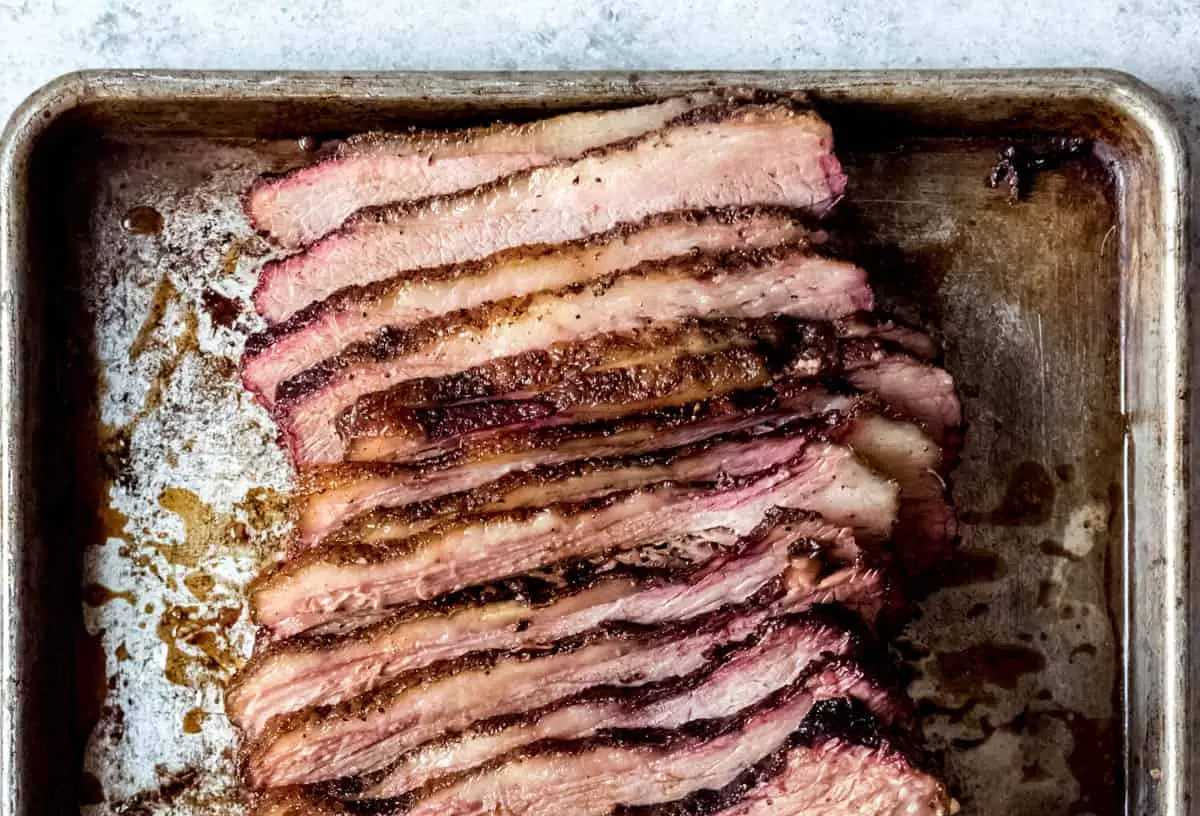
If you’ve ever gazed longingly at photos of perfectly rendered brisket bark or dreamed of slicing into a juicy, tender flat, then this guide is for you. We’re not just listing tools; we’re diving into why each one is essential for achieving that authentic Texas smoked brisket experience. This isn’t about buying expensive gadgets you’ll use once; it’s about investing in the right equipment that genuinely elevates your brisket game. Whether you’re a seasoned pitmaster looking for an edge or a beginner setting up your first smoker, understanding these foundational tools will save you time, frustration, and ultimately, lead to much more delicious results.
> “I thought I knew everything about smoking brisket until I read this. Understanding the why behind each tool helped me fine-tune my setup and finally achieve that perfect smoke ring!” – A satisfied backyard pitmaster
The cooking process overview
Making Texas smoked brisket is a low-and-slow affair, a true test of patience and precision. It begins by selecting a quality brisket and meticulously trimming it. Then, a generous rub is applied, and the brisket goes into the smoker, often for 10-16 hours or even longer, depending on its size and your smoker’s efficiency. During this long cook, maintaining consistent temperature and monitoring the brisket’s internal doneness are paramount. This involves navigating the “stall” – where the brisket’s temperature plateaus – and eventually wrapping it to push through this phase and retain moisture. Finally, a crucial resting period allows the juices to redistribute, resulting in that incredibly tender texture before the highly anticipated slicing. Each of the tools we’ll discuss plays a critical role in successfully executing these steps.
What you’ll need
This isn’t an exhaustive list of every single item in a competition pitmaster’s trailer, but rather the core 9 must-have tools that will empower you to consistently produce fantastic Texas smoked brisket right in your backyard.
Key ingredients
While we’re focusing on tools, let’s not forget the star of the show and its essential companions:
- Whole Brisket (Packer Cut): This includes both the flat and the point, crucial for proper Texas-style smoking. Look for marbling!
- Brisket Rub: A simple salt, black pepper, and garlic powder (SPG) rub is classic, but feel free to experiment.
- Wood Chunks/Splits: Oak is the traditional Texas choice, but hickory or pecan also work beautifully for a robust smoky flavor.
Directions to follow
While this article focuses on tools, here’s a simplified process to put those tools to good use:
- Trim the Brisket: Use your sharp boning knife to expertly trim excess hard fat, shaping the brisket for even cooking.
- Apply Rub: Generously coat your trimmed brisket with your chosen rub. This is where those nitrile gloves come in handy!
- Preheat Smoker: Get your smoker up to a consistent temperature, typically 225-275°F (107-135°C), using your wood chunks for smoke. Your digital thermometer and pit controller will be invaluable here.
- Smoke Initial Phase: Place the brisket in the smoker, fat side up or down depending on your smoker’s heat source. Smoke until the bark is well-developed and the internal temperature hits around 150-165°F (65-74°C). This is where the probe thermometer earns its keep.
- The Stall & Wrap: When the brisket hits its “stall,” use your butcher paper or foil to wrap it tightly. This retains moisture and helps push through the stall.
- Continue Cooking: Return the wrapped brisket to the smoker. Continue cooking until the internal temperature reaches 195-205°F (90-96°C) and the probe thermometer slides in with little to no resistance – like “butter.”
- Rest: This is perhaps the most crucial step! Transfer the wrapped brisket to a cooler, still wrapped, and let it rest for at least 1-4 hours. This allows the juices to redistribute, leading to incredible tenderness.
- Slice and Serve: Using your slicing knife, slice against the grain for both the flat and the point. Your cutting board with a juice groove will catch those precious drippings.
How to serve Texas smoked brisket
Serving Texas smoked brisket is straightforward: slice it, present it beautifully, and let the meat speak for itself. For that traditional experience, serve it alongside classic barbecue sides like potato salad, coleslaw, pinto beans, or mac and cheese. A simple white bread or rolls are perfect for making mini sandwiches or soaking up extra juices. Don’t drown it in sauce; true Texas brisket is flavorful enough on its own, but a light, thinned-out barbecue sauce on the side is acceptable for those who prefer it. A sprinkle of flaky sea salt right before serving can also enhance the flavor.
Storage and reheating tips
If you’re lucky enough to have leftovers – a rare occurrence with good brisket – proper storage is key to maintaining quality. Allow the brisket to cool completely before storing. Wrap individual slices or smaller portions tightly in plastic wrap or aluminum foil, then place them in an airtight container. It will keep in the refrigerator for 3-4 days.
For reheating, the best method is low and slow to prevent drying out. Place slices in a baking dish with a splash of beef broth, cover tightly with foil, and reheat in a 250°F (120°C) oven until just warmed through. You can also vacuum seal and reheat sous vide for excellent results. Freezing is possible for longer storage (up to 3 months) if properly wrapped, but the texture might be slightly different upon thawing and reheating.
Helpful cooking tips
- Patience is a Virtue: Brisket isn’t a quick cook. Don’t rush it. Plan for plenty of time, including a long rest.
- Trust the Feel, Not Just the Temp: While target temperatures are a guide, the true indicator of doneness is probe tenderness.
- Don’t Over-Trim: Leave a decent layer of fat (1/4 to 1/2 inch) on the fat cap to protect the meat and render down into moisture.
- Consistent Smoke: Aim for thin, blue smoke, not thick, white billows, which can impart a bitter flavor.
- The Rest is Non-Negotiable: Seriously, don’t skip or shorten the rest. It’s where the magic happens!
Creative twists
While Texas smoked brisket is revered for its classic preparation, you can certainly explore variations:
- Rub Variations: Experiment with different spice blends – adding paprika for color, cayenne for heat, or even a touch of coffee for depth.
- Wood Varieties: While oak is king, try mixing in a bit of pecan for sweetness or hickory for a stronger smoky profile.
- Brisket Burnt Ends: After slicing the flat, cube the fattier point, re-season, glaze with sauce, and return to the smoker for another hour or two until caramelized and tender.
- Injecting: Some pitmasters inject their briskets with beef broth or a seasoned liquid for added moisture and flavor, though purists often skip this.
Your questions answered
Why do I need a separate cutting board with a juice groove?
A: Brisket is incredibly juicy, especially after a long rest. A cutting board with a deep juice groove is essential to catch all those delicious drippings, preventing a messy kitchen and allowing you to save that flavorful jus for serving or moistening leftovers.
Can I use one thermometer for both the pit and the meat?
A: While some higher-end units offer multiple probes, for optimal control and accuracy, it’s best to have a dedicated pit controller/thermometer for ambient temperature and a separate, fast-reading probe thermometer for checking the internal temperature of the brisket. This prevents cross-contamination and allows for simultaneous monitoring.
Is butcher paper really better than foil for wrapping?
A: Many pitmasters prefer pink butcher paper because it’s breathable. This allows some moisture and smoke to still penetrate while pushing the brisket through the dreaded “stall,” helping to preserve the bark’s texture. Foil, being impermeable, can steam the brisket, potentially softening the bark more. Both work, but butcher paper is often favored for bark preservation.
Classic Texas Smoked Brisket
Equipment
- Large cutting board
- Small bowl
- Smoker
- Thermometer
- Cooler
Ingredients
Brisket
- 1 lbs full packer brisket USDA Choice or Prime grade, 12-18 lbs
Rub
- 1/2 cup coarse salt
- 1/4 cup coarse black pepper
- 2 tablespoons garlic powder
Smoking
- Post oak wood chunks or hickory/pecan blend
- Heavy-duty aluminum foil or unwaxed butcher paper
Reheating (Optional)
- Beef broth
Instructions
Preparation
- Trim the fat cap of the brisket to 1/4 to 1/2 inch thick, removing hard fat and shaping it to prevent burning.
- Combine salt, black pepper, and garlic powder to create the rub, then generously apply it to the brisket 8-12 hours before smoking and refrigerate uncovered.
Smoking
- Preheat your smoker to a consistent temperature between 225°F and 275°F and add wood chunks or pellets.
- Place the brisket on the grates, fat-side up or down, and smoke for 5-8 hours until a dark bark forms and the internal temperature reaches 165°F-175°F.
- Remove the brisket and wrap it tightly in aluminum foil or butcher paper to retain moisture.
- Return the wrapped brisket to the smoker and cook for another 3-6 hours until the internal temperature is 200°F-205°F and the brisket is probe tender.
Resting and Serving
- Remove the wrapped brisket from the smoker and rest it in a cooler or warm oven for a minimum of 2 hours, ideally 4-6 hours, to redistribute juices.
- Unwrap the brisket, separate the flat from the point, and slice against the grain into pencil-thin slices for serving.