When that sudden, undeniable craving for something rich, creamy, and utterly decadent strikes, but the thought of complex recipes and endless ingredient lists just makes you want to lie down, that’s where this recipe steps in. I’ve had those moments – eyes scanning the fridge, desperate for something sweet, but not willing to compromise on taste for speed. This isn’t just a cheesecake recipe; it’s the cheesecake recipe for instant gratification, proving that sometimes, less truly is more, especially when it comes to satisfying your sweet tooth with minimal fuss.
Why You’ll Love This Dish
Let’s be honest, the words “cheesecake” and “two ingredients” rarely appear in the same sentence unless someone’s joking. But there’s no joke here! This recipe is an absolute game-changer for anyone who loves dessert but hates the faff. You’ll adore it because it’s unbelievably quick, making it perfect for a last-minute treat, an unexpected guest, or simply when you need a little pick-me-up without the culinary marathon. It’s budget-friendly, uses staples you likely already have, and delivers a surprisingly delightful flavor and texture that genuinely mimics a more traditional cheesecake. Weeknight dessert, unexpected craving, or a simple celebration – this “cheesecake” easily fits the bill.
> “I couldn’t believe it! Two ingredients? I was skeptical, but it actually works and tastes so good. My new go-to for quick desserts!” — Happy Home Baker
The Cooking Process Explained
Making this 2-Ingredient Cheesecake is less about ‘cooking’ and more about ‘assembling and chilling.’ You’ll start by gently warming one of your star ingredients, then combining it with the other. The mixture is then poured into a prepared dish (or individual ramekins), and the magic happens as it chills and sets. It’s a beautifully simple process that requires minimal hands-on time, making it incredibly accessible for even the most novice bakers. No water baths, no delicate cracks to worry about, just pure, unadulterated dessert bliss.
What You’ll Need
To whip up this surprising dessert, you literally only need two items. Yes, you read that right!
- Cream Cheese: The full-fat block kind, softened at room temperature, is your best friend here. It provides the signature tangy richness and creamy texture.
- Sweetened Condensed Milk: This thick, sweet elixir not only adds all the necessary sweetness but also acts as a binder and helps create that smooth consistency.
Directions to Follow
Let’s turn those two ingredients into something wonderful!
- Soften the Cream Cheese: Ensure your block of cream cheese is at room temperature. This is crucial for a smooth mixture, so plan ahead if it’s currently chilling in the fridge.
- Combine Ingredients: In a medium-sized bowl, place the softened cream cheese. Pour in the entire can of sweetened condensed milk.
- Mix Until Smooth: Using an electric mixer (handheld or stand mixer), beat the cream cheese and sweetened condensed milk together on medium speed. Continue mixing until the mixture is completely smooth, lump-free, and thoroughly combined. This might take 3-5 minutes. Scrape down the sides of the bowl as needed.
- Prepare for Chilling: Pour the mixture into your chosen serving dish. This could be a small pie dish (about 8 inches), individual ramekins, or even just a pretty bowl.
- Chill to Set: Cover the dish loosely with plastic wrap and refrigerate for at least 4 hours, or preferably overnight. The longer it chills, the firmer and more cheesecake-like the texture will become.
- Serve: Once firm, it’s ready to enjoy!
Best Ways to Enjoy It
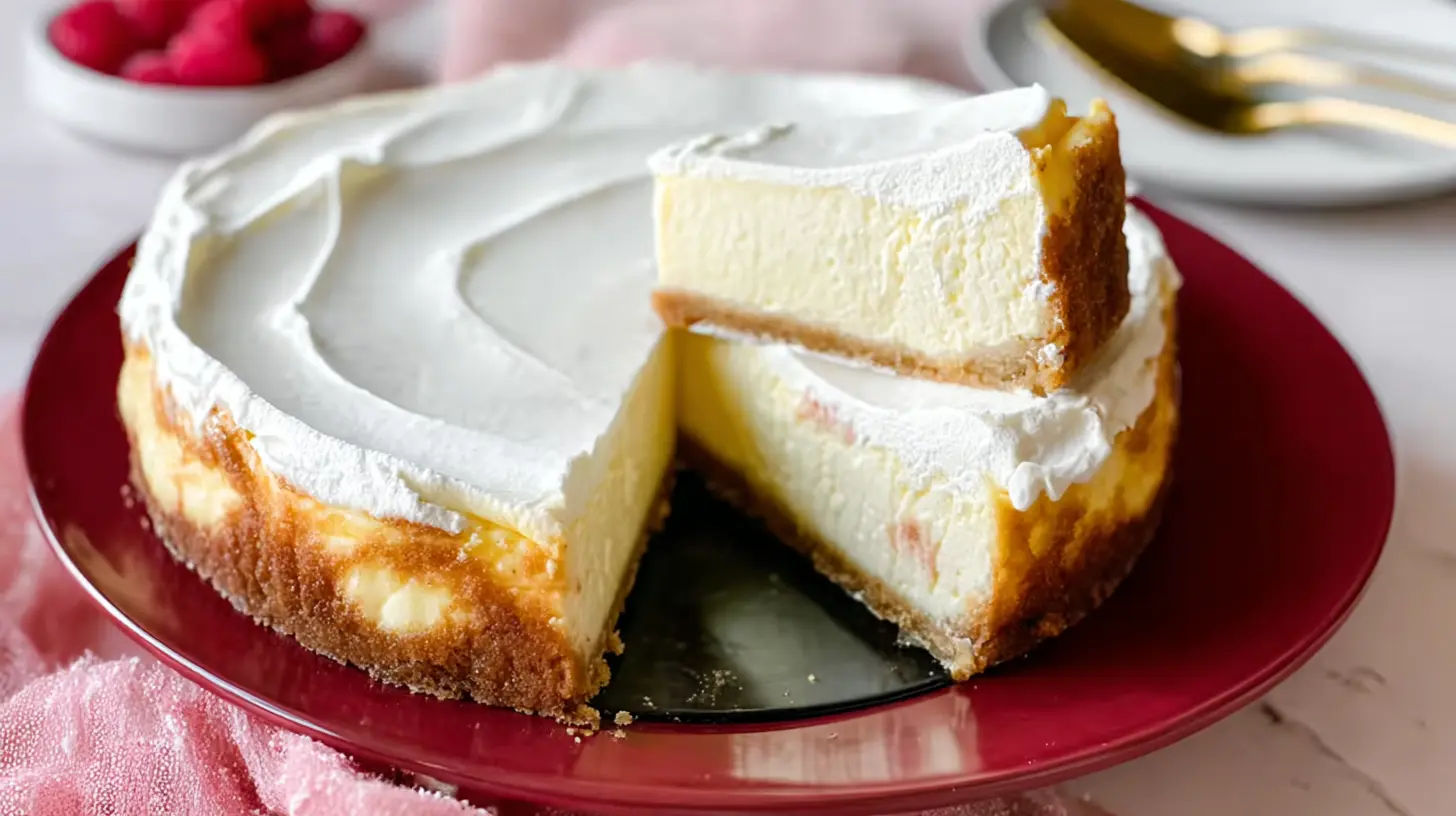
This 2-Ingredient Cheesecake is fantastic on its own, its simplicity being its charm. However, a few simple additions can elevate it further. Consider a dollop of fresh whipped cream, a sprinkle of fresh berries (strawberries, raspberries, or blueberries are perfect!), or a drizzle of chocolate sauce or caramel. A sprinkle of lemon zest can also brighten the flavors beautifully. You can serve it directly from the dish with a spoon, or if it’s firm enough, you might even be able to scoop out individual portions.
Keeping Leftovers Fresh
Should you happen to have any leftovers (a rare occurrence with this one!), simply cover the dish tightly with plastic wrap and store it in the refrigerator. It will stay fresh and delicious for 3-4 days. Due to the dairy content, it’s best not to leave it out at room temperature for extended periods. Freezing is not recommended as it can alter the creamy texture, making it grainy upon thawing.
Tricks for Success
- Room Temperature Cream Cheese is Key: I can’t stress this enough! If your cream cheese is cold, you’ll end up with lumps, and no one wants lumpy cheesecake. Take it out of the fridge at least an hour before you plan to make this.
- Don’t Over-Mix: While you want it smooth, excessive mixing can incorporate too much air, which might lead to a less dense, almost fluffy texture rather than a creamy one. Mix just until smooth and combined.
- Chill Patience: The longer it chills, the better it sets. An overnight chill truly yields the best results, allowing the flavors to meld and the texture to firm up beautifully.
- Consider a Crust: While this recipe is explicitly 2-ingredients, a simple graham cracker or digestive biscuit crust (crushed biscuits mixed with melted butter, pressed into the bottom of the dish, then chilled) would take this to the next level of traditional cheesecake experience without much extra effort.
Creative Twists
This recipe is a blank canvas just waiting for your personal touch!
- Citrus Burst: Add a teaspoon of lemon, lime, or orange zest to the mixture for a bright, zesty flavor. A few drops of citrus extract would also work.
- Vanilla Boost: A teaspoon of vanilla extract can deepen the flavor profile, making it taste even more like classic cheesecake.
- Chocolate Lover’s Dream: Stir in a tablespoon of unsweetened cocoa powder for a subtle chocolate hint, or gently fold in mini chocolate chips before chilling. A chocolate ganache drizzle on top is always a winner.
- Coffee Kick: Dissolve a teaspoon of instant coffee or espresso powder in a tiny bit of hot water, then add it to the mixture for a mocha-inspired cheesecake.
- Individual Servings: Instead of one large dish, pour the mixture into small ramekins or dessert glasses for elegant, pre-portioned servings.
- Flavor Extracts: Experiment with almond, coconut, or even a hint of peppermint extract (especially around the holidays!).
Common Questions
Can I use low-fat cream cheese for this recipe?
A: While you can use low-fat cream cheese, the results will not be as rich or set as firmly. Full-fat cream cheese is highly recommended for the best texture and flavor.
Do I need a crust for this cheesecake?
A: No, this recipe is designed to be crustless, focusing purely on the creamy “cheesecake” filling. However, you can easily add a simple no-bake crust (like crushed graham crackers and butter) if you prefer.
How long does this 2-Ingredient Cheesecake need to chill?
A: It needs a minimum of 4 hours to set, but for the best, firmest texture, I recommend chilling it overnight (8+ hours).
Can I bake this?
A: No, this is a no-bake recipe. The ingredients and proportions are not designed for baking, and baking it would likely result in a very different (and probably not pleasant) texture.
Can I make this vegan or dairy-free?
A: This specific recipe relies heavily on dairy cream cheese and sweetened condensed milk. While there are vegan cream cheese alternatives and sweetened condensed coconut milk, the ratios and setting properties might differ, so it would require experimentation and specific vegan recipes designed for those substitutions.
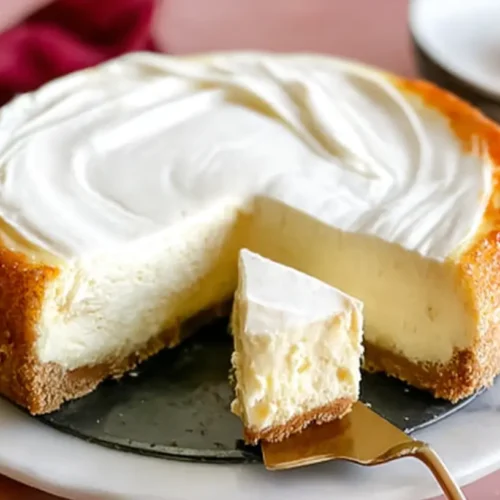
The Ultimate Creamy Cheesecake
Equipment
- medium bowl
- 9-inch springform pan
- stand mixer
- paddle attachment
- electric hand mixer
- heavy-duty aluminum foil
- large roasting pan
- wire rack
Ingredients
For the Crust:
- 1 ½ cups graham cracker crumbs
- ¼ cup granulated sugar
- 6 tablespoons unsalted butter melted
For the Filling:
- 32 ounces full-fat cream cheese softened at room temperature
- 1 ½ cups granulated sugar
- ¼ cup all-purpose flour
- 1 teaspoon vanilla extract
- salt Pinch of
- 4 large eggs at room temperature
- 1 cup sour cream at room temperature
- 2 tablespoons heavy cream at room temperature
Instructions
Prepare the Crust
- Preheat oven to 350°F (175°C). Combine graham cracker crumbs, sugar, and melted butter in a medium bowl, then press mixture firmly into a 9-inch springform pan.
- Bake for 10-12 minutes until light golden, then remove and cool slightly. Reduce oven temperature to 325°F (160°C).
Make the Filling
- Beat softened cream cheese in a stand mixer on medium speed for 2-3 minutes until smooth and creamy; scrape down the sides of the bowl.
Add Dry Ingredients
- Gradually add granulated sugar, beating until just combined. Mix in flour, vanilla extract, and salt until smooth, being careful not to overmix.
Incorporate Eggs
- Add eggs one at a time, beating on low speed until just incorporated after each addition.
Stir in Dairy
- Gently fold in sour cream and heavy cream until just combined and the batter is smooth.
Prepare for Water Bath
- Wrap the bottom and sides of the springform pan tightly with several layers of heavy-duty aluminum foil. Pour the cheesecake filling over the cooled crust.
Bake in a Water Bath
- Place the foil-wrapped springform pan into a larger roasting pan. Carefully pour hot water into the roasting pan until it reaches halfway up the sides of the springform pan.
Bake the Cheesecake
- Transfer the roasting pan to the preheated 325°F (160°C) oven. Bake for 60-75 minutes, or until the edges are set but the center still jiggles slightly.
Cool and Chill
- Turn off the oven, crack the door open, and leave the cheesecake in the water bath for 1 hour. Remove from water bath and foil, then cool on a wire rack at room temperature.
- Once cool, cover loosely with plastic wrap and refrigerate for at least 6 hours, or preferably overnight, before serving.