I remember those frantic weeknights, staring into the fridge, utterly devoid of inspiration for dinner. That’s when I first perfected this pan-seared chicken recipe, born out of a desperate need for something quick, flavorful, and anything but bland. This isn’t just another chicken dish; it’s a weeknight savior that consistently delivers juicy, tender chicken with minimal fuss, all within a precious 15 minutes. It’s become my go-to for those evenings when time is short but the craving for a satisfying, home-cooked meal is strong.
Why you’ll love this dish
If you’re anything like me, you’re constantly on the hunt for recipes that are both delicious and don’t require an hour-long commitment. This Juicy Pan-Seared Chicken checks all those boxes and more. It’s the ultimate weeknight warrior because it’s genuinely fast – we’re talking 15 minutes from pan to plate. Beyond speed, the technique ensures your chicken breast stays incredibly juicy, a common stumbling block for many home cooks. Plus, it’s a fantastic canvas for so many different flavors, making it versatile for future meals. It’s perfect for a busy family dinner, a quick solo lunch, or even as meal prep for the week ahead.
> “I used to dread cooking chicken breast because it always came out dry. This recipe changed everything! It’s so simple, and the chicken is perfectly juicy every single time. A total game-changer for my weeknight meals.” — A Happy Home Cook
The cooking process explained
Making this pan-seared chicken is straightforward, focusing on a few key techniques to achieve that perfect golden crust and succulent interior. You’ll start by preparing your chicken, ensuring it’s properly seasoned. Then, a hot pan with a touch of oil is essential for developing that beautiful sear. The magic really happens with a quick flip and a short cook time, often finishing with a little basting or resting period to lock in all those juices. It’s less about complicated steps and more about timing and temperature.
What you’ll need
Gathering your ingredients for this dish is incredibly simple, relying on pantry staples and fresh chicken.
- Boneless, Skinless Chicken Breasts: About 1.5 lbs, cut into 1-inch thick pieces or pounded thin for even cooking.
- Olive Oil or Avocado Oil: 2 tablespoons, for searing.
- Garlic Powder: 1 teaspoon
- Onion Powder: 1 teaspoon
- Paprika: 1 teaspoon (smoked or sweet, your preference)
- Dried Thyme or Oregano: 1/2 teaspoon
- Salt: 1 teaspoon, or to taste
- Black Pepper: 1/2 teaspoon, or to taste
- Chicken Broth or White Wine (Optional): 1/4 cup, for deglazing and creating a light sauce.
- Fresh Parsley (Optional): For garnish.
Directions to follow
Let’s get this delicious chicken on your plate!
- Prepare the Chicken: Pat the chicken breasts thoroughly dry with paper towels. This is a crucial step for a good sear. If your chicken breasts are very thick, you can slice them horizontally to create two thinner cutlets or pound them to an even 1/2 to 3/4-inch thickness. This ensures quicker and more even cooking.
- Season Generously: In a small bowl, combine the garlic powder, onion powder, paprika, dried thyme/oregano, salt, and black pepper. Sprinkle this seasoning blend generously over both sides of the chicken, pressing it gently to adhere.
- Heat the Pan: Place a large, heavy-bottomed skillet (cast iron or stainless steel works best) over medium-high heat. Add the olive oil and let it heat until shimmering, almost smoking. A well-heated pan is key for a good sear.
- Sear the Chicken: Carefully place the seasoned chicken breasts in the hot skillet, making sure not to overcrowd the pan. Cook for 3-5 minutes per side, undisturbed, until a deep golden-brown crust forms. The exact time will depend on the thickness of your chicken.
- Finish Cooking (Optional, if using broth/wine): If using, pour the chicken broth or white wine into the pan. Bring to a simmer, scraping up any browned bits from the bottom of the pan (this adds immense flavor!). Reduce the heat to medium-low, cover, and let the chicken cook for another 2-3 minutes, or until the internal temperature reaches 165°F (74°C) with an instant-read thermometer. If not using broth/wine, simply continue cooking uncovered until it reaches 165°F, perhaps reducing heat slightly if browning too quickly.
- Rest the Chicken: Transfer the cooked chicken to a cutting board and let it rest for 5 minutes before slicing. This allows the juices to redistribute, ensuring maximum tenderness and flavor.
- Serve: Slice the chicken against the grain and serve immediately, drizzled with any pan juices, and garnished with fresh parsley if desired.
Best ways to enjoy it
This pan-seared chicken is incredibly versatile, making it easy to pair with almost anything. For a complete and quick meal, I often serve it alongside a simple steamed vegetable like broccoli or green beans, and a carb like quinoa, rice, or even some quick couscous. It’s also fantastic sliced over a fresh green salad for a lighter option, or tucked into warm pita bread with some homemade tzatziki sauce. Don’t forget that delicious pan sauce – it’s perfect spooned over the chicken and any accompanying sides!
How to store & freeze
After all that delicious work (which wasn’t much!), you’ll want to make sure any leftovers are stored properly.
Storage: Allow the cooked chicken to cool completely. Transfer it to an airtight container and refrigerate for up to 3-4 days.
Reheating: To reheat, you can gently warm it in a skillet over medium-low heat with a splash of water or broth to prevent drying out, or briefly microwave until just heated through. Be careful not to overcook.
Freezing: This chicken freezes well! Once cooled, place individual portions in freezer-safe bags or containers. It can be frozen for up to 2-3 months. Thaw overnight in the refrigerator before reheating. Sliced chicken reheats better after freezing than whole breasts.
Practical cooking tips
- Don’t skip patting dry: This is perhaps the most important tip for a good sear. Moisture on the chicken’s surface will steam instead of sear.
- Even Thickness: Pounding your chicken breasts to an even thickness ensures they cook uniformly and prevents one part from being dry while another is undercooked.
- Don’t Overcrowd the Pan: Cook the chicken in batches if necessary. Overcrowding lowers the pan temperature, leading to steaming instead of searing.
- Hot Pan, Cold Oil: Start with a hot pan, then add your oil just before adding the chicken. This helps create a non-stick surface and a good crust.
- Resist the Urge to Flip: Let the chicken cook undisturbed for those first few minutes. This allows the crust to form properly. You’ll know it’s ready to flip when it easily releases from the pan.
- Resting is Key: Don’t skip the resting step! It allows the muscle fibers to relax and reabsorb the juices, leaving you with tender, moist chicken.
Creative twists
This pan-seared chicken is a fantastic base for endless flavor explorations!
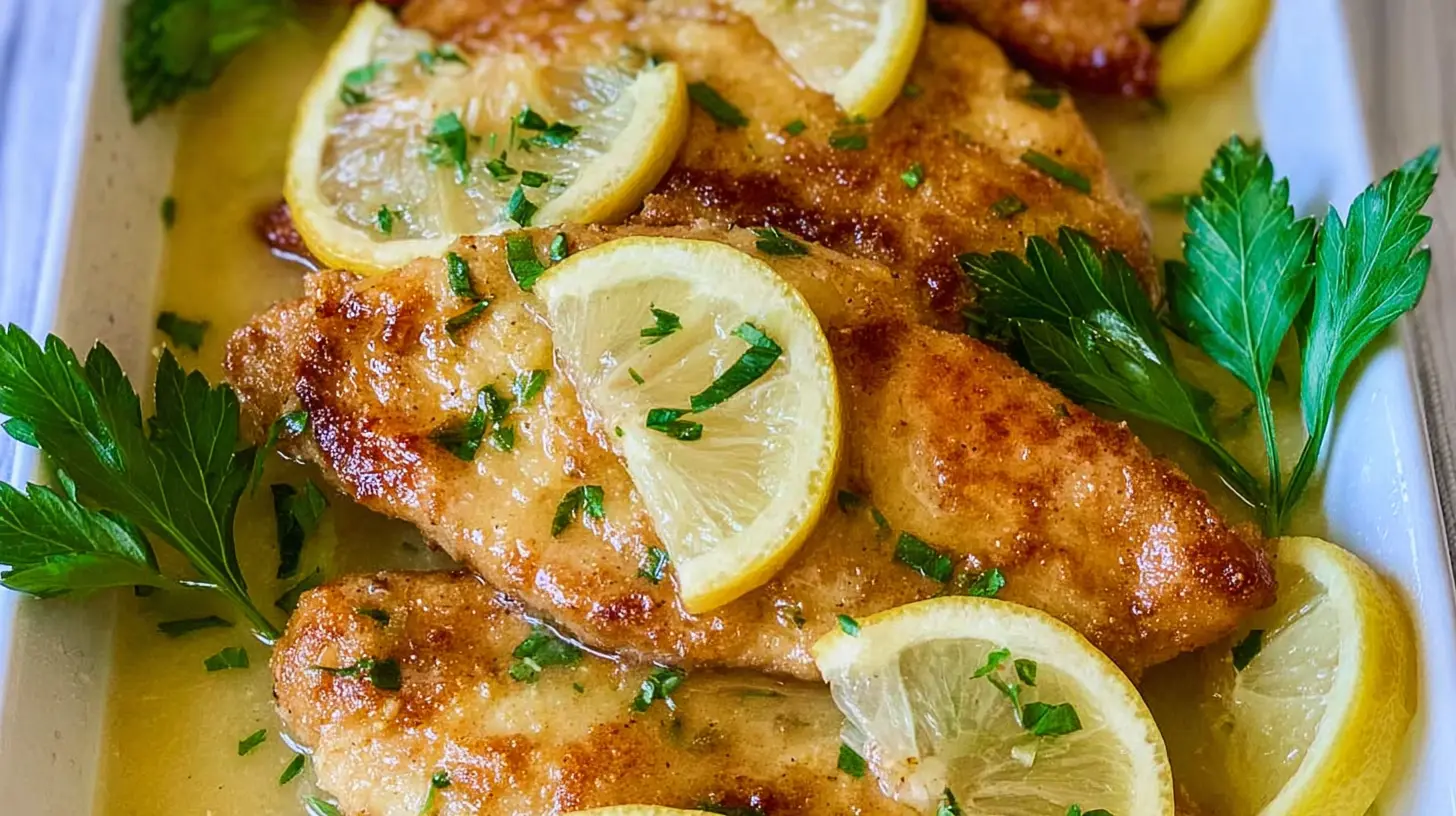
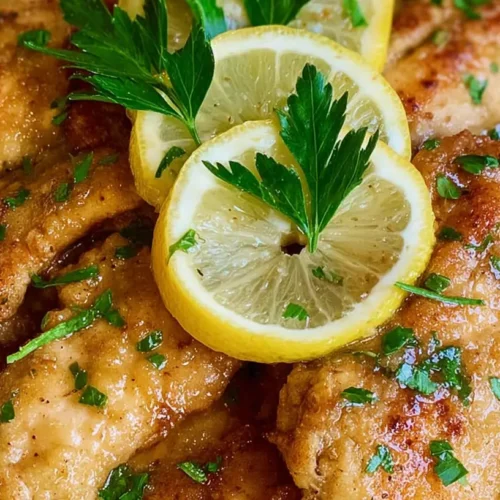
- Lemon Herb: Finish with a squeeze of fresh lemon juice and a sprinkle of chopped fresh parsley or dill.
- Spicy Kick: Add a pinch of cayenne pepper or red pepper flakes to your seasoning mix for a bit of heat.
- Garlic Butter Sauce: After cooking the chicken, melt 2 tablespoons of butter in the same pan, then add 2-3 minced garlic cloves and cook until fragrant. Swirl in a tablespoon of chopped fresh parsley. Spoon over the chicken.
- Creamy Mushroom: Sauté sliced mushrooms in the pan after the chicken, then add a splash of cream and a touch of Parmesan cheese for a rich sauce.
- Tex-Mex Flavor: Use chili powder, cumin, and oregano for your seasoning blend. Serve with salsa, avocado, and lime.
Common questions
How do I know if my chicken is cooked through without a thermometer?
While a meat thermometer is the most reliable way to ensure perfect doneness (165°F or 74°C), you can usually tell by pressing on the thickest part of the chicken; it should feel firm, not squishy. If you cut into the thickest part, the juices should run clear, and the meat should be opaque.
Can I use chicken thighs instead of breasts?
Absolutely! Chicken thighs are even more forgiving due to their higher fat content. They will likely need a few extra minutes of cooking time per side, so adjust accordingly until they reach an internal temperature of 175°F (80°C) for optimal tenderness.
My chicken is sticking to the pan. What am I doing wrong?
Chicken sticking usually means the pan wasn’t hot enough when you added the chicken, or you tried to flip it too soon. Ensure your pan is properly preheated (oil shimmering), and let the chicken cook undisturbed until a good crust forms. Once it’s properly seared, it will naturally release from the pan. Using a well-seasoned cast iron or good quality stainless steel pan also helps.
Classic Juicy Pan-Seared Chicken
Equipment
- Paper towels
- Small bowl
- Large, heavy-bottomed skillet (cast iron or stainless steel)
- Instant-read thermometer
- Cutting board
- Foil
Ingredients
Main Ingredients
- 2 Boneless, Skinless Chicken Breasts (6-8 ounces each)
- 1 tablespoon Olive Oil (or avocado oil)
- 1 teaspoon Garlic Powder
- 1 teaspoon Onion Powder
- ½ teaspoon Dried Thyme (or oregano)
- ½ teaspoon Paprika
- Salt (to taste)
- Freshly Ground Black Pepper (to taste)
- 2 tablespoons Unsalted Butter
- 1-2 sprigs Fresh Rosemary or Thyme (optional)
Instructions
Preparation
- Pat the chicken breasts dry with paper towels to ensure a crispy sear. If the chicken is very thick, butterfly or gently pound it to an even ¾-inch thickness.
Seasoning
- In a small bowl, combine garlic powder, onion powder, dried thyme, paprika, salt, and black pepper. Generously season both sides of the chicken, pressing lightly to secure the spices.
Cooking
- Heat a heavy-bottomed skillet over medium-high heat with olive oil until it shimmers. Carefully place the seasoned chicken breasts in the hot skillet and sear undisturbed for 5-7 minutes until a deep golden-brown crust forms.
- Flip the chicken, reduce heat to medium-low, and add butter and fresh herbs if desired. Continuously baste the chicken with the melted butter and pan juices for another 5-7 minutes, until an internal temperature of 165°F (74°C) is reached.
Resting
- Remove the cooked chicken from the pan and transfer to a cutting board. Tent loosely with foil and let it rest for at least 5 minutes before slicing and serving.