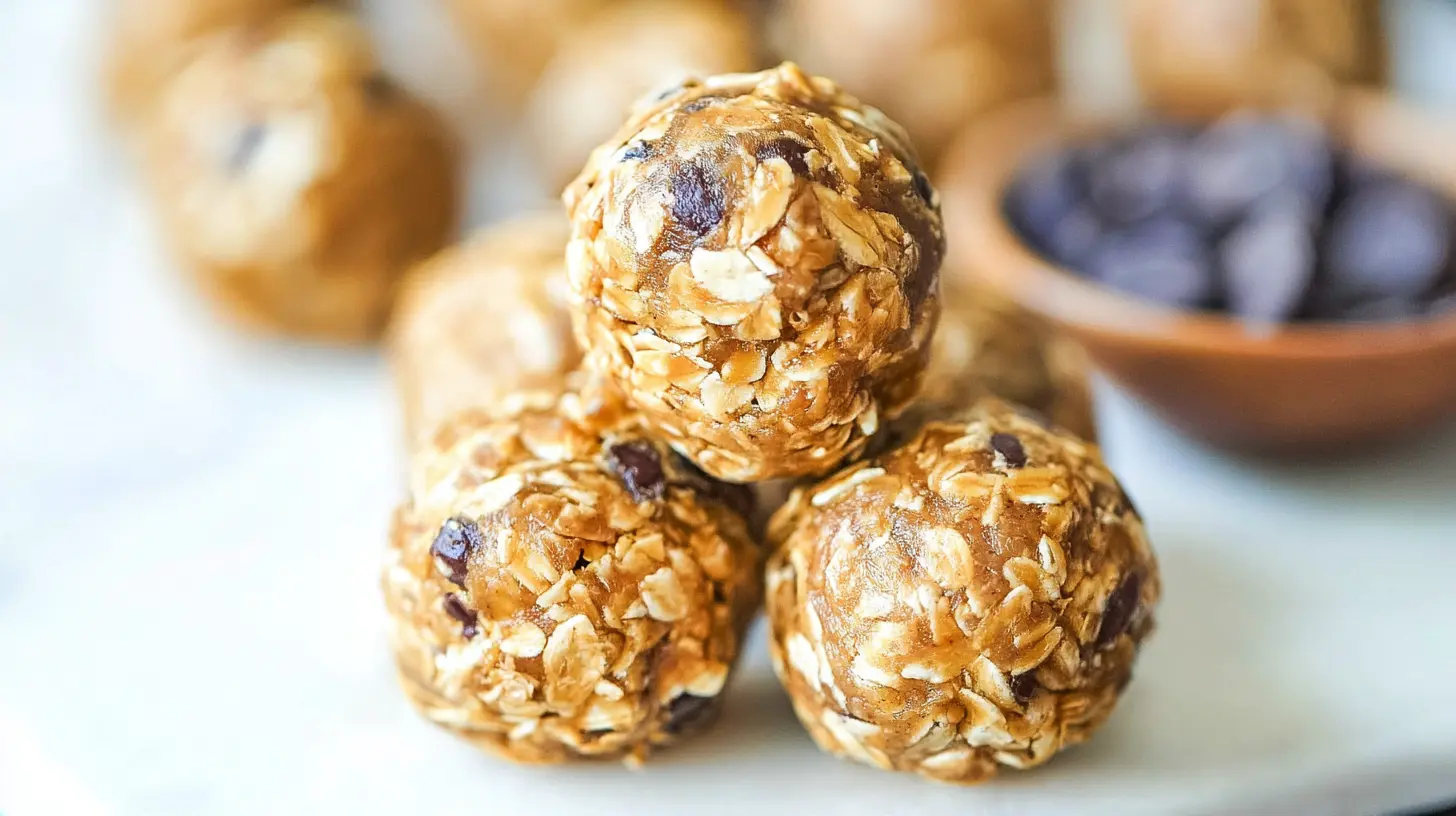
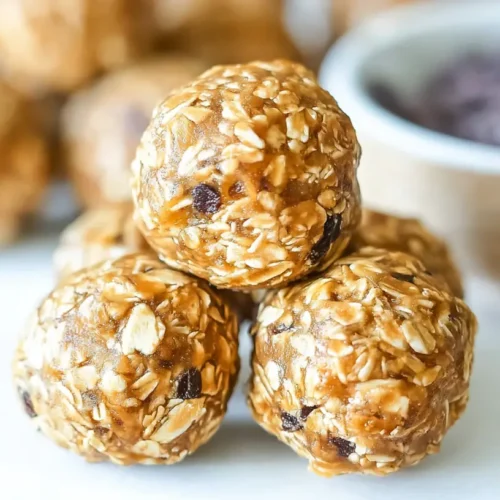
I remember the endless quest for a snack that actually hit the spot, especially during those mid-afternoon slumps or pre-workout jitters. Most things were either too sugary, left me feeling sluggish, or required a whole production in the kitchen. That’s when I stumbled upon the magic of no-bake energy bites, and these No-Bake Peanut Butter Energy Bites became an instant favorite. They’re that perfect little something that satisfies your sweet tooth, keeps you fueled, and honestly, you’ll find it hard to stop at just one!
Why you’ll love this dish
Life moves fast, and sometimes, you need a snack that keeps up without slowing you down. These No-Bake Peanut Butter Energy Bites are an absolute game-changer for anyone seeking a delicious, healthy, and incredibly convenient pick-me-up. They’re perfect for busy weeknights when dinner feels far away, as a grab-and-go breakfast on frantic mornings, or even a healthier dessert when a craving strikes. Forget guilt-ridden snacking; these bites are packed with wholesome ingredients that truly nourish.
> “I used to buy expensive energy bars, but these homemade peanut butter bites are so much better! They’re cheaper, I know exactly what’s in them, and my kids actually ask for them. A total win!”
The cooking process explained
Creating these No-Bake Peanut Butter Energy Bites is incredibly straightforward – hence the “no-bake” in the title! You’ll basically be combining all your ingredients in one bowl, mixing them until they form a cohesive “dough,” and then rolling them into bite-sized spheres. There’s no oven involved, no complex steps, just simple mixing and a little chilling time to help them firm up. It’s truly a recipe anyone can master, even those who claim to be “kitchen-challenged.”
What you’ll need
Gather these items for your delectable bites:
- 1 cup (250g) creamy peanut butter (all-natural preferred)
- ½ cup (120ml) honey or maple syrup
- 1 cup (90g) rolled oats (gluten-free if desired)
- ½ cup (80g) ground flaxseed
- ½ cup (60g) mini chocolate chips (or chopped dark chocolate)
- 1 teaspoon vanilla extract
- Pinch of salt
Directions to follow
Here’s how to whip up your energy bites:
- Combine Wet Ingredients: In a large mixing bowl, combine the peanut butter, honey (or maple syrup), and vanilla extract. Stir well with a spoon or spatula until smooth and thoroughly combined.
- Add Dry Ingredients: Add the rolled oats, ground flaxseed, mini chocolate chips, and a pinch of salt to the peanut butter mixture.
- Mix Thoroughly: Using your hands (the best tool for this!) or a sturdy spoon, mix everything together until all the dry ingredients are fully incorporated and the mixture forms a thick, uniform “dough.” It should be sticky but hold together when pressed.
- Roll the Bites: Take small portions of the mixture (about 1-inch in diameter) and roll them between your palms to form compact balls.
- Chill: Place the finished bites on a plate or baking sheet lined with parchment paper. Refrigerate for at least 30 minutes to allow them to firm up. This makes them less sticky and easier to handle.
- Enjoy: Once chilled, grab one (or two, or three!) and enjoy your homemade energy boost!
Best ways to enjoy it
These No-Bake Peanut Butter Energy Bites are incredibly versatile. They’re perfect for a quick breakfast on the go, a satisfying afternoon snack, or even a healthier post-dinner treat. For a fun twist, try dipping them partially in melted dark chocolate and letting them set in the fridge. They also make an excellent addition to a packed lunch for kids and adults alike. Pair them with a glass of milk or a cup of coffee for a truly comforting snack experience.
Keeping leftovers fresh
To ensure your energy bites stay fresh and delicious, store them in an airtight container in the refrigerator. They will last for up to 1-2 weeks this way. For longer storage, these bites freeze beautifully! Place them in a single layer on a baking sheet to freeze solid, then transfer them to a freezer-safe bag or container. They can be frozen for up to 2-3 months. Thaw them in the refrigerator overnight or simply grab one from the freezer and let it sit at room temperature for 10-15 minutes before enjoying.
Helpful cooking tips
- Warm up the peanut butter: If your peanut butter is very stiff, microwave it for 15-30 seconds before mixing to make it easier to combine with the other ingredients.
- Don’t skip the chill time: Chilling is crucial for these bites. It helps them firm up, preventing them from being too sticky and making them easier to handle and eat.
- Adjust sweetness: Taste the mixture before adding the oats and flaxseed. If you prefer it sweeter, add a little extra honey or maple syrup.
- Use wet hands for rolling: If you find the mixture too sticky to roll, lightly dampen your hands with a little water. This prevents the mixture from sticking and makes the rolling process smoother.
Creative twists
The beauty of these No-Bake Peanut Butter Energy Bites is how easily they can be customized!
- Nut Butter Swaps: Experiment with almond butter, cashew butter, or sunflower seed butter for different flavor profiles and to accommodate allergies.
- Boost the Protein: Add a scoop of your favorite protein powder (vanilla or unflavored work best) for an extra protein punch. You might need a tiny splash of milk or water to adjust consistency if it becomes too dry.
- Dried Fruit Fun: Fold in finely chopped dried cranberries, raisins, apricots, or even shredded coconut for added texture and sweetness.
- Seed Power: Incorporate chia seeds, hemp seeds, or sesame seeds along with the flaxseed for additional omega-3s and nutrients.
- Spice it Up: A pinch of cinnamon, nutmeg, or even pumpkin pie spice can add a lovely warmth, especially during cooler months.
Common questions
How long does it take to make these energy bites?
The active preparation time for these bites is typically only about 10-15 minutes. The longest part is the recommended 30-minute chilling time in the refrigerator, but that’s hands-off time.
Can I make these without honey or maple syrup?
Yes, you can. While honey and maple syrup provide binding and sweetness, you could try substituting with a date paste (blended pitted dates with a little water) for a natural, refined sugar-free option. The texture might change slightly.
Are these energy bites suitable for people with nut allergies?
No, as written, they contain peanut butter. However, you can easily make a nut-free version by substituting the peanut butter with a seed butter, such as sunflower seed butter (SunButter). Just ensure all other ingredients are also free from nut cross-contamination if allergies are severe.
Spiced Apple Pie Energy Bites
Equipment
- medium-sized mixing bowl
- parchment paper
Ingredients
Energy Bites
- 1 cup creamy natural peanut butter warmed slightly if very stiff
- 1/2 cup maple syrup
- 1 teaspoon vanilla extract
- 2 cups rolled oats certified gluten-free if needed
- 1/4 cup dried finely diced apples
- 1/2 teaspoon ground cinnamon
- 1/4 teaspoon ground nutmeg
- Pinch ground cloves
- 2 tablespoons ground flaxseed
Instructions
Preparation
- In a medium bowl, combine the warmed peanut butter, maple syrup, and vanilla extract until smooth.
- Add oats, diced apples, cinnamon, nutmeg, cloves, and flaxseed to the wet mixture, mixing thoroughly until a thick dough forms.
- Roll one tablespoon portions of the mixture into bite-sized balls.
- Place balls on a parchment-lined plate or baking sheet and refrigerate for at least 30 minutes to firm up before serving.